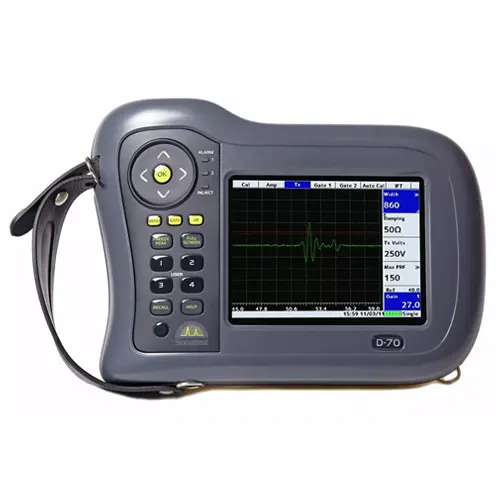
Sonatest D70 Masterscan UT Flaw Detector
With the Sonatest Masterscan D-70, new features can be added and upgrades performed in the working environment, reducing downtime and increasing working flexibility. High levels of near surface resolution, penetrating power (450V pulser – square and spike) and excellent signal to noise ration are key functions in the Masterscan range.
This instrument offers the inspector a fully capable and functional set of tools and software for inspection across all applications. Capabilities include encoded B-Scan, Advanced Thickness logging and Dryscan capability in a portable enclosure.
Typical applications are Weld Fabrication, Corrosion Detection, Composite Inspection, Bond Testing, Forgings and Castings, Power Generation (including EMATS and general UT inspection).
Features:
Customisable & Inituitive Menus
Split DAC/AVG/DGS
Angle Measurement Mode
Dryscan capability
Configurable on-board software
Field Upgradeable
Encoded B-Scan
A-Scan Fade
4GByte on-board memory
USB Interface for PC import/export
Video Output for training
Sizing Techniques & Software Options include:
DAC (Standard)
Defined by up to 20 reference points or converted from TCG curve and digitally drawn on the screen. DAC curves meet the requirements of EN1714, ASME, JIS and many other standards. Custom DAC curves can be selected. DAC dynamic range can be extended by automatically adjusting the reference curve to match the reference gain. Scanning Gain and T-Loss available as separate controls. Amplitude readout is selectable between %FSH, % DAC or relative dB.
Split DAC & DGS/AVG (Option)
Adds up to 3 zones of added gain (+12db, +24dB) to the DAC or DGS/AVG curve to enable single-pass scanning of large sections and attenuative materials.
Dryscan Function
The Dryscan option adds a tuned pre-amplifier to the received signal, allowing comparative transmission testing of composite materials which cannot be inspected using traditional techniques. Used in conjunction with soft-tip and roller probes, no couplant is required, so honeycomb structures or carbon fibre panels are easily assessed for delaminations and disbonds.
